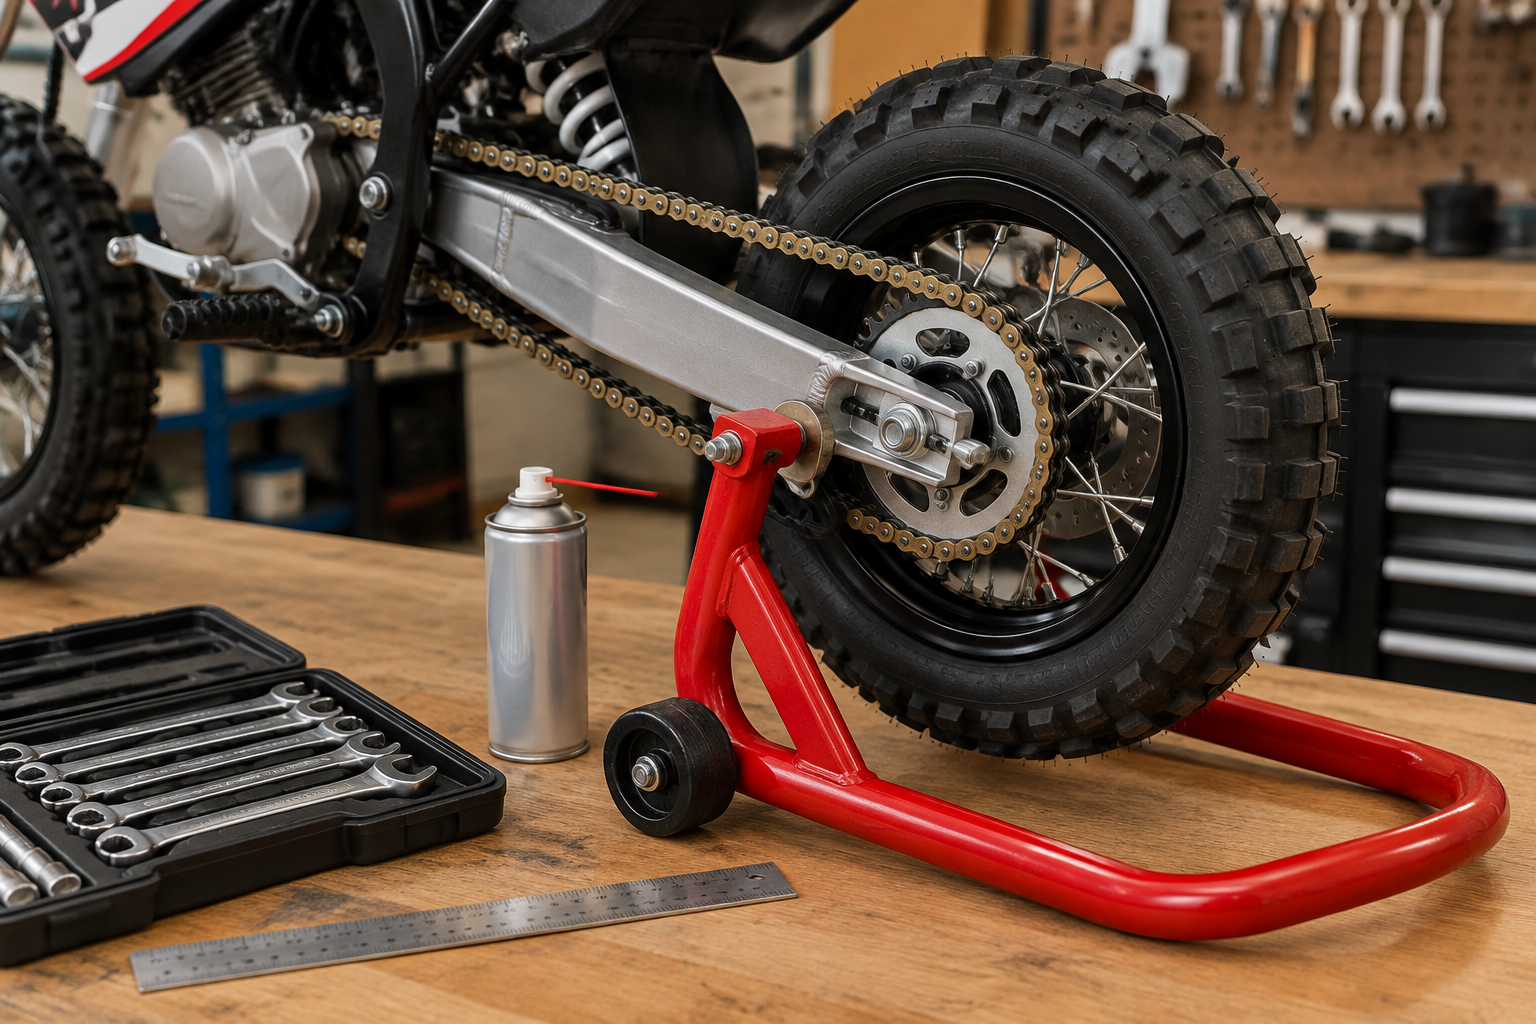
How to Adjust a Pit Bike Chain and Check Alignment
TL;DR: Loosen the rear axle, use both chain adjusters evenly, measure slack at the chain’s tightest point, align the rear wheel, and tighten the axle using the specification for your bike. The correct slack range varies by model, so a setting from another pit bike should not be treated as universal.
Meta description: Learn how to adjust a pit bike chain, check slack, align the rear wheel, identify worn parts, and complete a final pre-ride inspection.
A loose chain can slap the swingarm, derail, or damage the sprockets. A tight chain can place extra load on the countershaft, wheel bearings, and suspension. The adjustment is correct only when the chain falls within the range specified for the bike and remains clear as the suspension moves.
What You Need
- Owner’s manual or manufacturer service information
- Wrenches or sockets for the rear axle nut
- Wrenches for the chain-adjuster locknuts
- Ruler or chain-slack gauge
- Motorcycle chain cleaner
- Suitable chain lubricant
- Rear stand or another stable way to support the bike, if required
- Replacement split pin or axle hardware if the bike uses single-use hardware
The exact axle hardware, adjuster design, chain size, slack specification, and tightening torque are not the same on every pit bike. The pit bike chain size guide may help identify the chain, but chain size does not establish the correct slack.
Time: Allow enough time to clean the chain, inspect the drivetrain, make the adjustment, and repeat the checks before riding. The exact service time depends on chain condition, access, and the adjuster design.
Step by Step
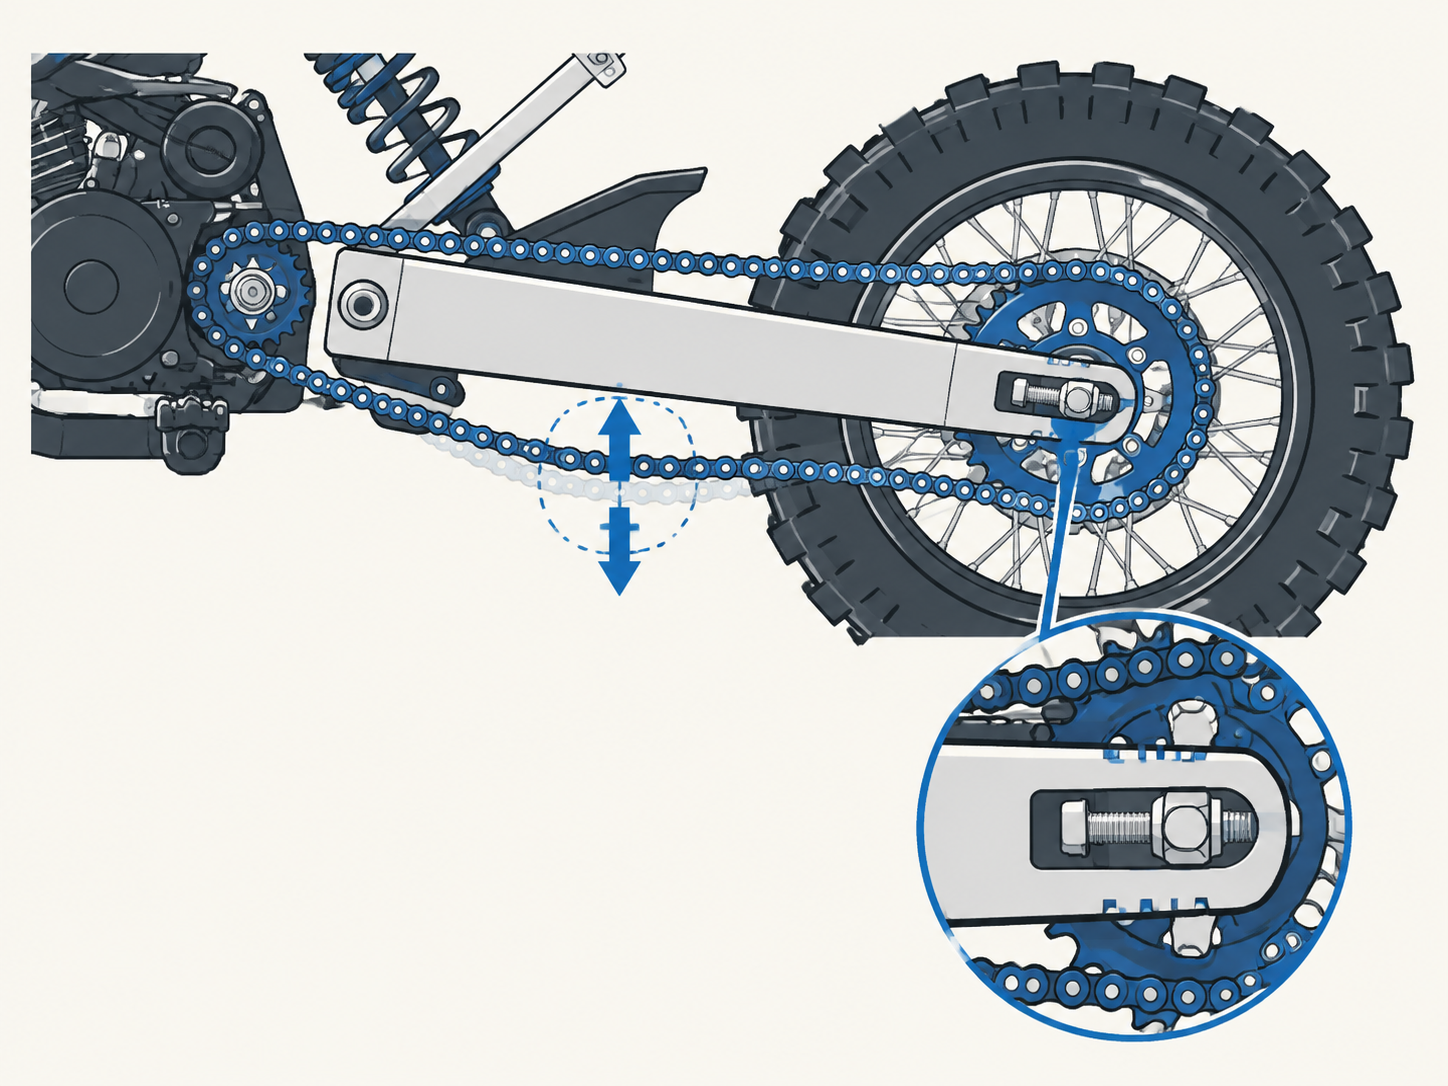
1. Park the Bike Safely
Place the bike on a level surface. Switch off the engine and allow hot parts to cool.
If you use a stand, make sure the bike cannot tip. Chain measurements may be made with the wheels on the ground, the rear wheel unloaded, or the suspension in a specified position. Use the position required for your bike.
For a child or youth rider, an adult should control the work area and supervise the adjustment.
2. Inspect and Clean the Chain
Rotate the rear wheel slowly and inspect the full chain. Look for:
- Kinked or seized links
- Rust or damaged rollers
- Missing or damaged master-link hardware
- Tight spots
- Excessive side-to-side movement
- Hooked, sharp, or visibly damaged sprocket teeth
Clean the chain before measuring it. Dirt can hide damage and make the chain appear tighter in one section.
If the chain has a tight spot, locate it before taking the measurement. Adjusting the chain at its loosest point can leave it too tight elsewhere.
3. Locate the Chain-Slack Specification
Check the owner’s manual, chain guard, frame label, or manufacturer service information for the required slack range and measuring method.
The measurement may involve:
- Checking vertical movement midway between the sprockets
- Measuring with the bike on a stand or on its wheels
- Measuring with the rider’s weight off or on the bike
- Checking the chain with the suspension compressed
Engine size alone does not establish the correct chain slack. Use the procedure specified for the exact bike.
4. Loosen the Rear Axle
Loosen the rear axle nut enough for the wheel to move in the swingarm slots. Do not remove the axle.
If the bike has a rear brake caliper, brake stay, or other hardware that limits wheel movement, follow the relevant service procedure before moving the wheel.
5. Loosen the Adjuster Locknuts
Loosen the locknuts on both chain adjusters. Keep each adjuster engaged with its mounting point.
The alignment marks on the swingarm can provide a reference, but they should not be the only alignment check. Marks may be difficult to read or may not be precise.
6. Move the Wheel Evenly
Turn both adjusters in small, equal increments.
- Move the rear wheel backward to reduce slack.
- Move it forward to add slack.
Keep the left and right adjusters at matching positions so the rear axle remains square in the swingarm. Keep the chain centered on the rear sprocket while making the adjustment.
The trade-off is straightforward: moving the wheel too far can make the chain tight, while uneven adjuster movement can misalign the wheel.
7. Measure the Chain Again
With the bike positioned as required for measurement, check the chain at its tightest point.
Confirm that the result is inside the specified range. Do not rely on appearance alone; a chain can look loose while becoming too tight when the suspension compresses.
8. Tighten the Adjuster Locknuts
Hold each adjuster in position while tightening its locknut. Measure the chain again afterward because the adjuster can move as the locknut is tightened.
Correct the setting before tightening the axle if the measurement has changed.
9. Tighten the Rear Axle
Tighten the rear axle according to the specification for the bike. Do not substitute a generic torque value.
Check that:
- The axle is fully seated.
- The left and right alignment positions match.
- The chain remains within the specified range.
- The rear brake operates normally.
- Any axle retainer, split pin, or locking hardware is installed correctly.
10. Rotate and Recheck the Wheel
Rotate the rear wheel through a complete rotation and check the chain again at its tightest point.
Confirm that the chain runs smoothly and does not bind. Apply suitable chain lubricant after cleaning and adjustment when the product instructions call for it. Wipe away excess lubricant so it does not collect unnecessary dirt.
11. Complete a Pre-Ride Check
Before riding, inspect the:
- Rear axle
- Adjuster locknuts
- Chain and sprockets
- Rear brake
- Rear-wheel alignment
A short, low-speed check in a controlled area can reveal chain noise, binding, or poor alignment. Stop if the chain skips, catches, or makes abnormal noise.
An adult should complete the final inspection before a youth rider uses the bike.
Safety
- Never place fingers between the chain and sprocket.
- Keep clothing, hair, and tools away from the chain while the wheel is moving.
- Support the bike securely before lifting or working around the rear wheel.
- Do not run the engine with the transmission engaged while your hands are near the chain.
- Allow the engine, exhaust, and other hot components to cool.
- Wear eye protection when using chain cleaner or compressed air.
- Follow the labels on chain-cleaning and lubrication products.
- Keep children away from the motorcycle while it is lifted or while the rear wheel is being rotated.
- Do not ride with damaged links, missing master-link hardware, severe rust, or visible cracks.
- Replace damaged sprockets and a worn chain as a set when required by the manufacturer or service guidance.
- Use the pit bike safety checklist after maintenance.
A chain that is too tight may become tighter as the rear suspension compresses. Check the bike’s suspension-clearance instructions before returning it to use.
When to See a Mechanic
Get professional help when:
- The axle will not loosen or appears damaged.
- The chain has seized links, broken plates, or a damaged master link.
- The rear wheel cannot be aligned with the adjusters.
- The chain is substantially tighter in one section than another.
- The sprocket teeth are hooked, broken, or badly worn.
- The chain repeatedly loosens after adjustment.
- The rear brake or wheel alignment changes during the procedure.
- You cannot identify the correct torque specification or chain size.
- The swingarm, axle, wheel bearings, or adjusters appear bent or loose.
- An adult cannot confirm that the adjustment and final safety check were completed for a youth rider.
Repeated chain loosening can point to worn chain components, worn sprockets, loose axle or adjuster hardware, damaged adjusters, or another drivetrain problem. Repeated adjustment may conceal the cause.
Final adjustment checklist
- Confirm the specified measurement point and chain slack range in the manual.
- Rotate the wheel and measure at the chain's tightest section.
- Move both adjusters evenly and verify the wheel alignment marks or measurement.
- Tighten the axle and locknuts to the exact settings for the bike.
- Recheck chain clearance, brake operation, axle security, and the chain guard before riding.
FAQ
How much slack should a pit bike chain have?
The correct range depends on the bike and the measuring method. Use the specification for your bike and check the chain at its tightest point. A number from another pit bike is not a universal setting.
Should I adjust the chain with the bike on a stand?
Use the position specified for the bike. Some procedures call for the rear wheel to be supported, while others use the bike on its wheels or require the suspension to be placed in a particular position.
Why does the chain have tight and loose sections?
Uneven slack can result from worn or damaged links, uneven chain wear, or worn sprockets. Rotate the wheel and measure at several positions. If the difference is substantial, have the chain and sprockets inspected instead of adjusting only the loosest section.
Why does my chain keep getting loose?
Possible causes include worn chain components, loose axle or adjuster hardware, incorrect alignment, or a chain that needs replacement. Inspect the drivetrain and verify that the axle is tightened to the bike’s specified setting.
Can I use any chain lubricant?
Use a lubricant intended for motorcycle or powersports chains and follow the product instructions. Confirm compatibility, especially if the bike uses a sealed chain. The Pit Bike Parts Compatibility guide can help when checking replacement components.
Evidence and sources
- The MSF T-CLOCS checklist calls for checking chain tension at the tightest point, lubrication, sprocket condition, fasteners, wheels, and brakes.
- The Honda Powersports owner's-manual library provides the measurement position, slack range, axle procedure, alignment method, and torque for a specific Honda model.
These sources support the inspection order, not one universal adjustment. Chain slack, axle torque, alignment marks, lubricant, and replacement size are not independently verified for every pit bike; use the exact manufacturer or seller documentation for the installed drivetrain.