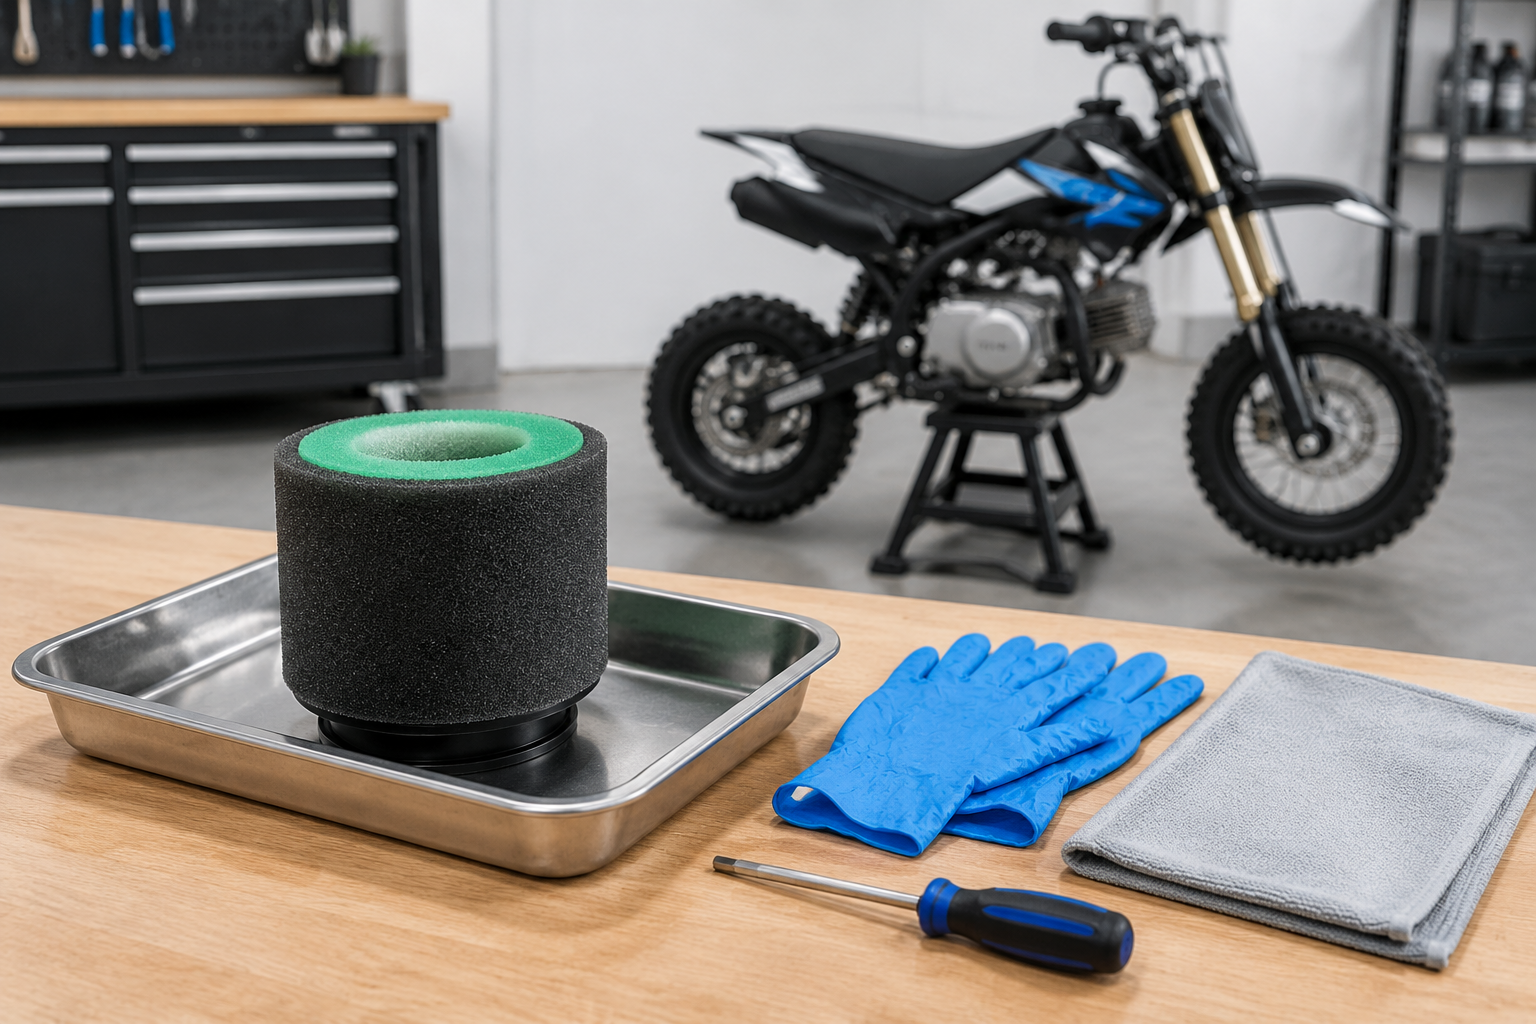
How to Clean and Oil a Pit Bike Air Filter
TL;DR: Clean a foam air filter when it is visibly dirty, after riding in dusty conditions, or when the manufacturer’s schedule calls for it. Remove the filter carefully, use cleaner appropriate for its material, let it dry fully, apply the correct filter oil if specified, and inspect the sealing surfaces before reinstalling it. A damaged or paper filter usually needs replacement rather than washing.
This guide covers common maintenance procedures for 110cc-125cc four-stroke pit bikes. Filter materials and service instructions vary, so use the instructions for your own bike and filter before cleaning.
Your own bike's manual and the filter maker's instructions control; a seller's generic listing is not an independently confirmed service specification.
What You Need
- Clean work area
- Screwdriver, socket, or wrench that fits the airbox cover and filter clamp
- Disposable gloves
- Clean container or tray
- Foam air-filter cleaner, or the cleaner specified for your filter
- Clean water, if approved for your filter
- Foam air-filter oil, if specified
- Clean lint-free cloths
- Replacement filter if the existing element is torn, hardened, or deteriorated
Time: Not listed. Cleaning and drying time depends on the filter condition, cleaner, temperature, and airflow. Do not reinstall the filter until it is fully dry.
Important: Do not wash a paper filter unless the manufacturer specifically says it is washable. A paper element that is wet, collapsed, or heavily contaminated generally requires replacement.
Step by Step
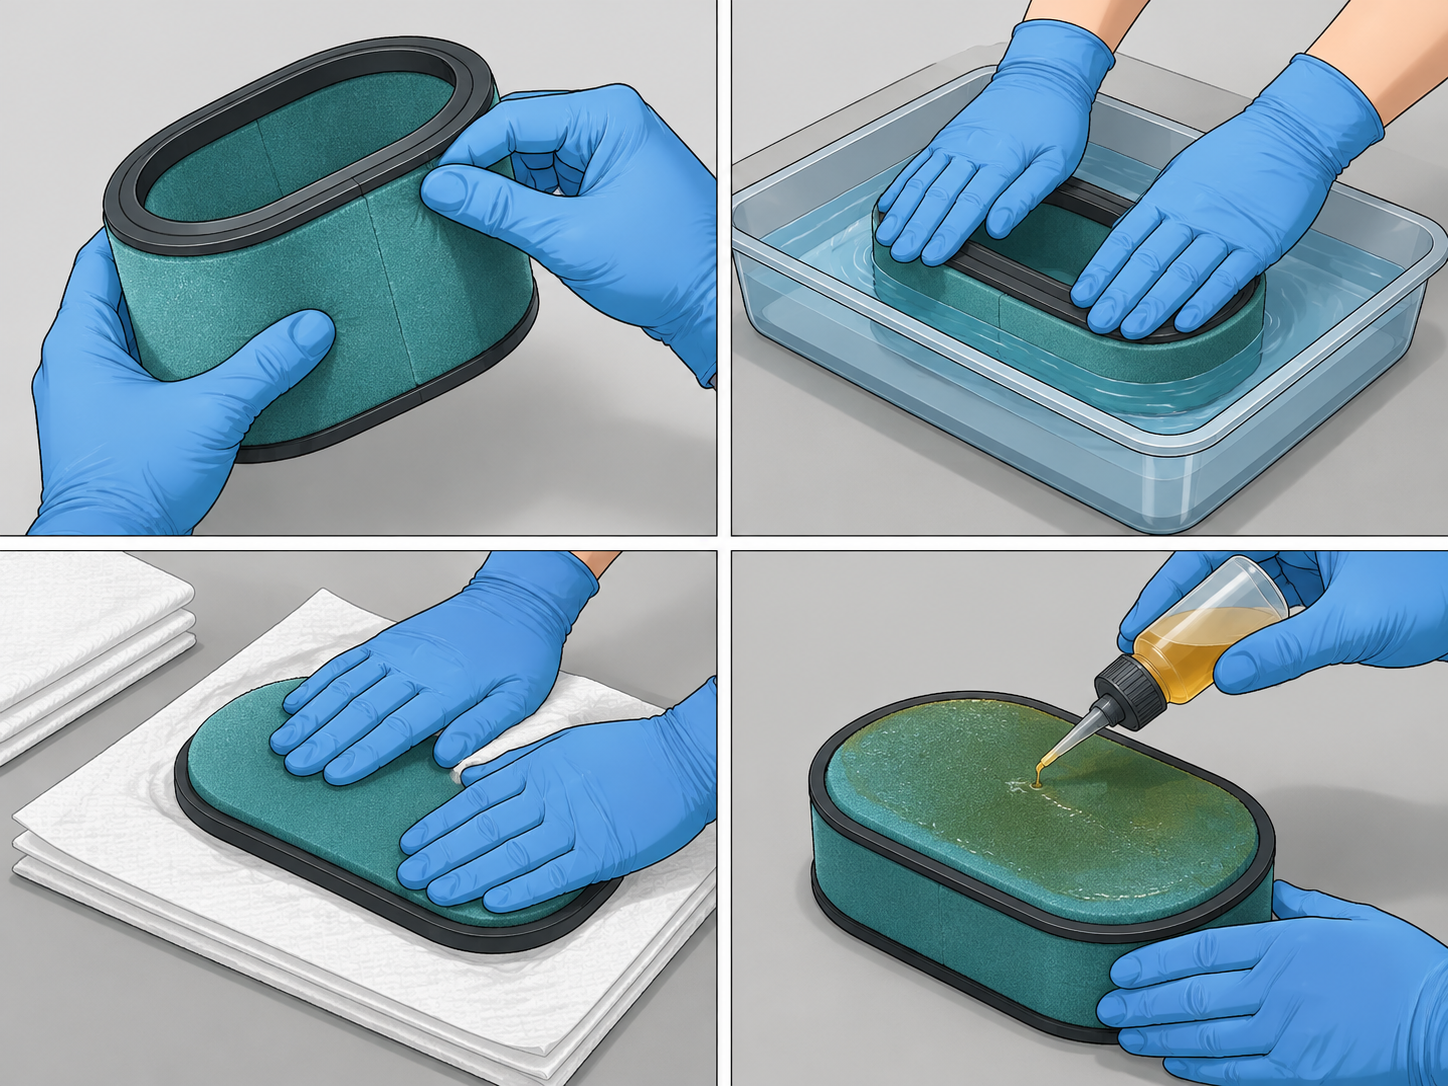
1. Park the Bike Safely
Turn the engine off and allow hot parts to cool. Place the bike on a stable surface where dirt and cleaning fluid cannot fall into the intake.
If the bike has recently been ridden in heavy dust or mud, clean the area around the airbox before opening it. This helps keep loose dirt out of the intake.
2. Locate the Airbox and Remove the Cover
The airbox is usually positioned near the carburetor and engine intake. Remove the cover using the correct tool for your bike.
Keep the fasteners together. Avoid prying against the filter element or airbox lip, as damage in this area can create an air leak.
3. Remove the Filter Carefully
Release the clamp, retaining wire, or other fastener holding the filter in place. Pull the filter away from the intake without knocking dust into the opening.
Cover the intake opening with a clean cloth while the filter is out. Do not start the engine with the filter removed, because abrasive debris could enter the engine.
4. Inspect the Filter Before Cleaning
Check the foam, seams, cage, rubber sealing edge, and retaining hardware.
Replace the filter if you find:
- Tears or holes
- Loose seams
- Hardened or crumbling foam
- A distorted sealing edge
- Damage that prevents a close fit
- Dirt embedded so deeply that cleaning does not remove it
A filter that cannot seal properly can let unfiltered air reach the engine. Cleaning is not a substitute for replacement when the element is damaged.
5. Remove Loose Dirt
Gently tap or brush loose dirt from the outside of the filter. Work away from the clean side where possible.
Avoid high-pressure compressed air on foam. It can tear the material or force dirt deeper into it. If the filter is heavily packed with dust, replace it or follow the filter maker’s cleaning instructions.
6. Apply the Correct Cleaner
Apply foam-filter cleaner according to the product instructions. Work the cleaner through the foam gently instead of twisting or wringing the filter aggressively.
The wrong cleaner can damage foam or adhesive. Do not use gasoline, harsh solvents, or household detergents unless the instructions for the filter or bike permit them.
7. Rinse the Filter if Permitted
If the instructions allow water, rinse the filter with clean water until the cleaner and dirt have been removed. Rinse from the clean side toward the dirty side when practical.
Use gentle water flow rather than high pressure. Thick oil and dirt may require additional rinsing.
8. Dry the Filter Completely
Press the filter gently between clean cloths to remove excess water. Do not twist, wring, or use high heat.
Allow the filter to air-dry fully in a clean, shaded, well-ventilated area. Reinstalling a damp filter can interfere with airflow and dilute filter oil.
9. Apply Filter Oil if Required
Once the filter is dry, apply foam air-filter oil as directed. Work the oil evenly through the foam, then remove excess oil according to the product instructions.
Do not substitute engine oil, transmission fluid, or an unknown aerosol product unless the instructions for your bike or filter approve it. Too little oil can reduce dust retention; too much can restrict airflow and create a mess inside the airbox.
10. Clean the Airbox
Wipe dirt and old filter oil from the airbox, filter cage, cover, and sealing surfaces. Keep debris away from the intake opening.
Inspect the airbox for cracks and check that the drain or breather area is not blocked. A clean filter cannot protect the engine if the airbox does not close or seal correctly.
11. Reinstall the Filter
Fit the filter onto the cage or intake flange exactly as it was installed. Make sure the sealing edge sits flat all the way around.
Tighten the clamp or retainer securely, but do not crush the foam. The filter must remain stable while the bike is running.
12. Refit the Airbox Cover
Install the cover and fasteners. Check that no cloth, tool, or loose material remains inside the airbox.
Start the bike only after confirming that the filter and cover are correctly fitted. If the engine starts and then dies after service, use the troubleshooting steps in Pit Bike Starts Then Dies, but first recheck the filter seating and intake connections.
Safety
- Work with the engine off and cooled.
- Wear gloves when handling dirty filter oil and solvent.
- Use cleaners in a well-ventilated area.
- Keep cleaning chemicals away from flames, sparks, and hot exhaust parts.
- Follow the label instructions for every filter cleaner and oil.
- Never run the engine with the air filter removed.
- Do not use high-pressure air or high heat on foam.
- Dispose of used cleaner and oily rags according to local requirements.
- Keep dirt from entering the intake while the filter is removed.
- Check the airbox cover and filter seal before riding.
A clean air filter does not correct every running problem. If the engine still runs poorly after the filter is correctly installed, review Pit Bike Carburetor Adjustment or the wider Pit Bike Maintenance & Repair.
When to See a Mechanic
Have a mechanic inspect the bike when:
- The filter has damaged foam, failed seams, or a sealing problem.
- Dirt may have entered the intake.
- The airbox, intake boot, or carburetor connection is cracked.
- The engine develops unusual noise after running without proper filtration.
- The bike will not start or stay running after the filter is serviced.
- The engine smokes heavily or shows other signs of internal damage.
- You are unsure whether the filter is foam, paper, or another material.
A mechanic can also confirm whether replacement parts match the airbox and intake. The Pit Bike Parts Compatibility guide is useful when the original filter is unavailable.
Final cleaning checklist
- Confirm the filter material and use only a compatible cleaner.
- Inspect the foam, seams, cage, and sealing edge for damage.
- Let the filter dry completely before applying filter oil.
- Wipe dirt and old oil from the airbox without pushing debris into the intake.
- Verify the filter is seated evenly and the clamp or retaining hardware is secure.
FAQ
How often should a pit bike air filter be cleaned?
Inspect the filter after dusty, muddy, or wet riding and follow the service interval provided for your bike. Severe dust exposure makes inspection more important than relying on a calendar schedule.
Can I clean a foam air filter with gasoline?
Do not assume gasoline is safe. Some filter materials, adhesives, and sealing components can be damaged by unsuitable solvents. Use the cleaner specified for the filter.
Should I oil the filter after washing it?
Foam filters generally require suitable filter oil after cleaning, but the procedure depends on the filter design and instructions. Apply oil only after the filter is fully dry.
Can I use dish soap?
Only use household detergent if the filter instructions permit it. A product that removes dirt may also affect foam, adhesive, or existing filter oil.
Why does my bike run differently after cleaning the filter?
Possible causes include an over-oiled or damp filter, an incorrectly seated sealing edge, a loose intake connection, or a separate fuel or ignition problem. Check the installation first. For a no-start condition, see Pit Bike Wont Start.
Evidence and sources
- The Honda Powersports owner's-manual library provides model-specific air-cleaner removal, cleaning, oiling, and installation instructions.
- The Yamaha TT-R110 owner's manual is an official reference for identifying filter material and following the manufacturer's service sequence.
These manuals support the remove-inspect-clean-dry-oil-seal sequence for the filters they document. Cleaner type, filter oil, drying method, and service interval are not independently verified for every pit bike filter; follow the bike and filter maker's instructions.