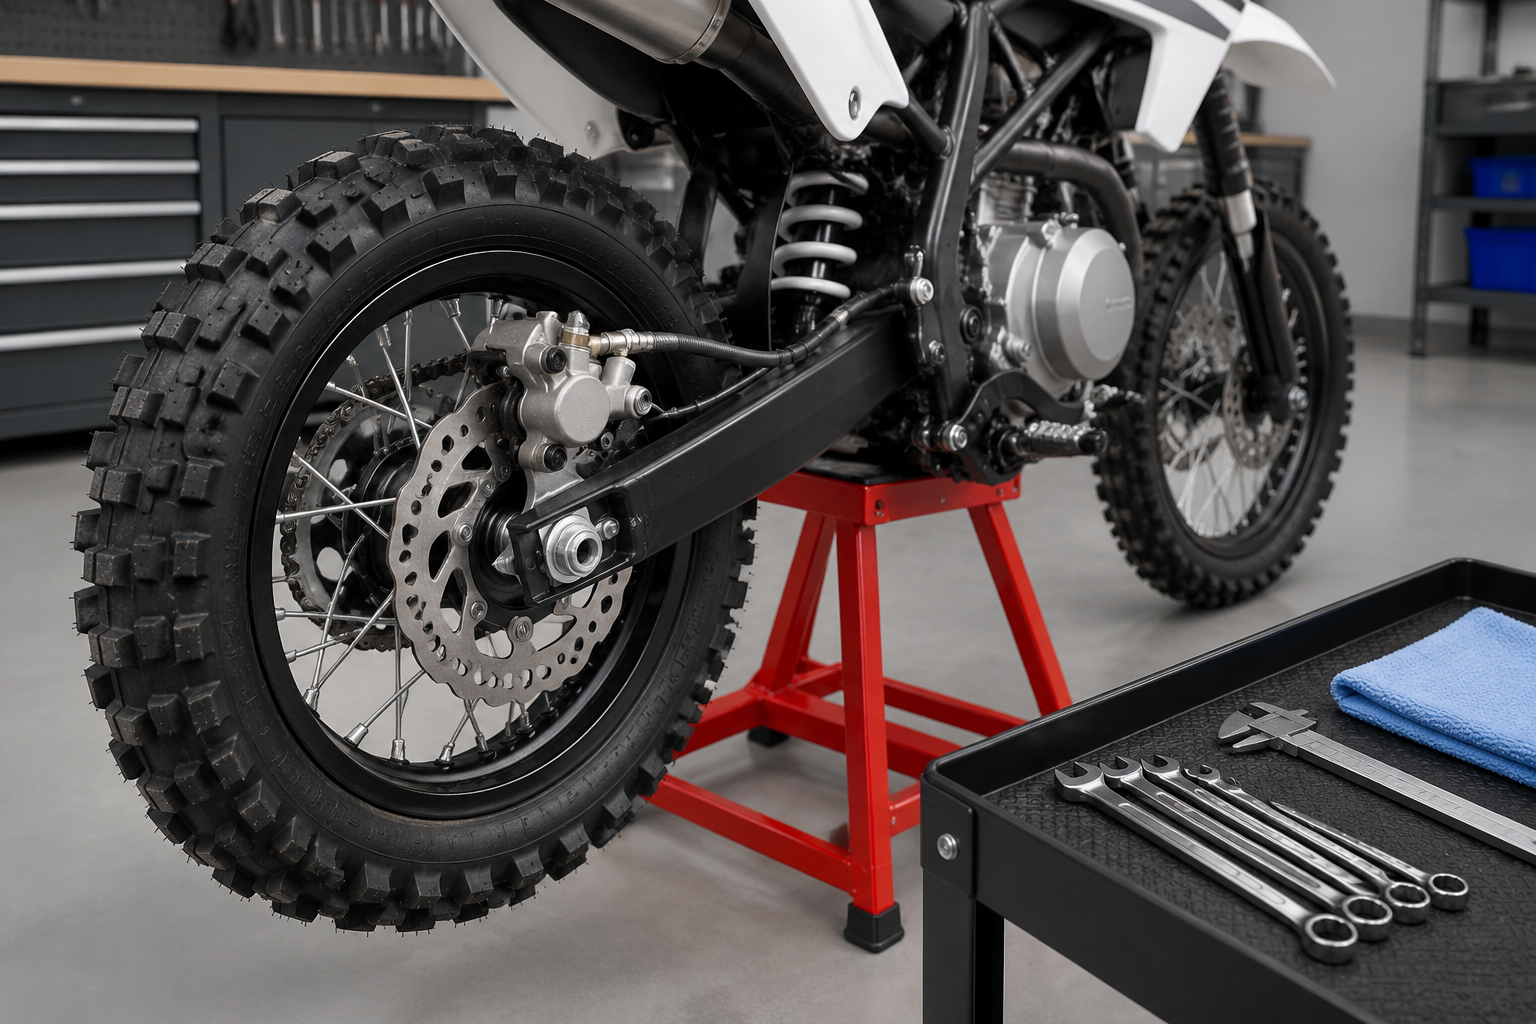
Pit Bike Brake Adjustment: Service Guide
The short answer: Identify whether the bike uses a cable-operated drum, mechanical disc, or hydraulic disc brake before touching an adjuster. Inspect pads or shoes, disc or drum condition, cables or hoses, fluid leaks, wheel bearings, and mounting hardware first. Use the exact manual for free play, wear limits, fluid, bleeding order, and torque values.
Stop Before Adjusting If
Do not ride or adjust around a cracked disc, leaking hydraulic system, frayed cable, contaminated friction surface, loose caliper, damaged drum, or wheel-bearing play. Adjustment cannot repair worn or damaged parts.
If a lever suddenly reaches the handlebar, a pedal loses resistance, or braking changes after a crash, transport the bike for inspection instead of test-riding it.
What You Need
- Exact owner or service manual
- Stable stand
- Correct metric tools
- Flashlight and clean lint-free cloth
- Brake cleaner approved for the components
- Measuring tool specified by the manual
- Torque wrench when the procedure lists torque values
- Replacement pads, shoes, cable, seals, or fluid only when the exact specification is known
Keep oil, chain lubricant, grease, and dirty rags away from brake friction surfaces.
Inspection and Adjustment
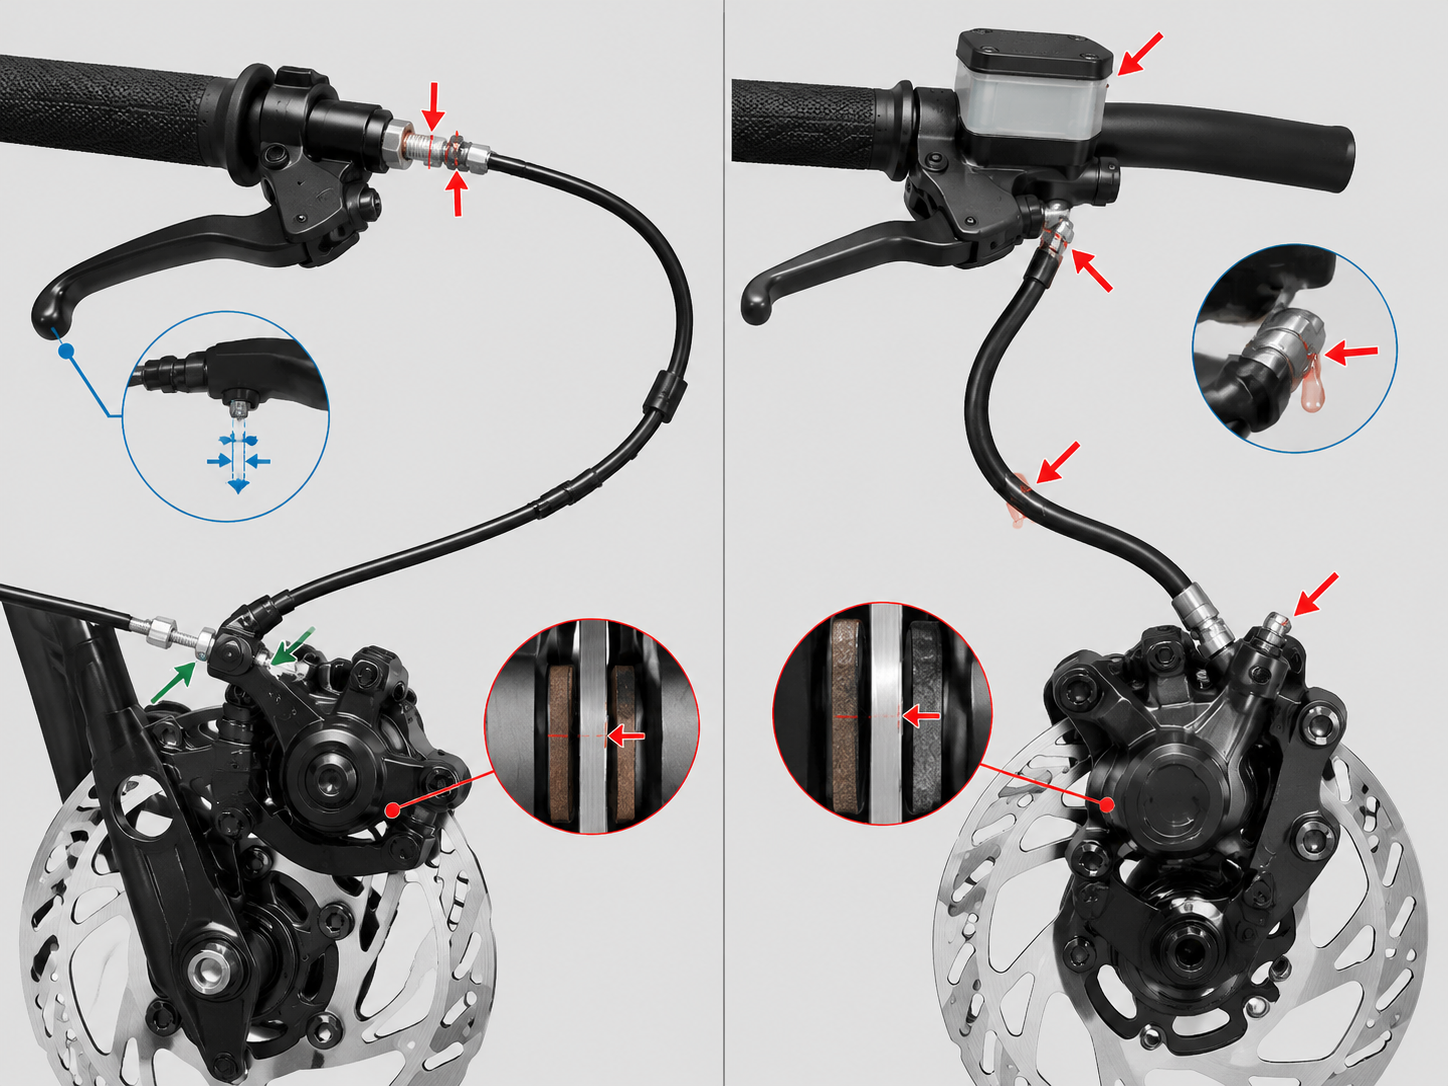
1. Identify the Brake Type
A cable-operated brake has a cable, adjuster, and mechanical arm. A hydraulic brake has a master cylinder, hose, caliper, and fluid reservoir; many hydraulic systems have no routine pad-clearance adjuster.
Check both ends of the bike. Front and rear systems can use different designs.
2. Check the Wheel and Mounting Hardware
Support the bike securely and check the wheel for bearing play, rim damage, axle movement, and loose brake mounts. A loose wheel or caliper can feel like poor adjustment.
Spin the wheel and note drag, scraping, pulsing, or side-to-side disc movement. Do not force a bent disc straight without the manufacturer's procedure and service limit.
3. Inspect Friction Parts
Compare pad or shoe thickness with the manual's service limit. Replace contaminated, cracked, unevenly worn, or below-limit friction material as a set where the manufacturer requires it.
Inspect discs for cracks, heavy grooves, heat damage, and thickness below the service limit. For a drum, inspect the braking surface and actuator according to the manual.
4. Adjust a Cable-Operated Brake
Inspect the complete cable for fraying, corrosion, sharp bends, crushed housing, and damaged ends. Replace a damaged cable; adjustment does not restore cable strength.
Set lever or pedal free play using the specified adjuster and measurement point. Keep enough free play for full release, tighten the locknut, turn the handlebar through its full range, and confirm the brake does not apply or change free play.
5. Check a Hydraulic Brake
Inspect the reservoir, hose, banjo fittings, caliper, and master cylinder for leaks. Use only the fluid type printed in the manual or on the system; incompatible fluids can damage seals.
A soft lever can indicate air, a leak, damaged seals, hose expansion, or another fault. Bleed the system only with the correct fluid and model-specific sequence; if pressure does not remain firm, stop and repair the cause.
6. Align the Caliper When the Design Allows It
Some calipers use sliding pins or mounting clearance for alignment. Follow the manual to center the caliper, inspect pins and boots, and tighten fasteners to the specified torque.
Do not use improvised washers or leave mounting bolts loose to stop rubbing. Persistent drag may come from a seized piston, damaged hose, warped disc, overfilled reservoir, or misaligned wheel.
7. Recheck Operation
With the bike supported, apply and release each brake several times. Confirm the wheel stops, releases, and rotates without abnormal drag; also confirm the throttle and other controls still move freely.
Complete a walking-speed function check in a clear private area only after the stationary checks pass. Stop immediately if braking is weak, inconsistent, noisy, binding, or pulling the bike to one side.
Common Symptoms
| Symptom | Checks before adjustment |
|---|---|
| Excessive lever travel | Wear, cable stretch, air, leak, incorrect free play |
| Brake drags | Cable routing, free play, piston or pivot movement, disc alignment, wheel alignment |
| Brake squeals | Contamination, glazing, loose hardware, worn pads, damaged disc or drum |
| Lever feels soft | Air, fluid leak, seal fault, hose condition |
| Pedal or lever feels hard but braking is weak | Contamination, glazed friction material, wrong parts, mechanical binding |
The table is a diagnostic starting point, not a substitute for the exact service procedure.
When to See a Mechanic
Seek qualified help for hydraulic leaks, repeated loss of pressure, seized pistons, damaged master cylinders, cracked or warped discs, stripped caliper mounts, uncertain fluid type, or brake faults after a crash.
Do not ride until both brakes provide predictable control. Use the pre-ride safety checklist after any brake work.
FAQ
How much brake-lever free play should a pit bike have?
Use the value and measurement method in the exact manual. Cable and hydraulic systems do not share one universal setting.
Can I adjust a hydraulic brake like a cable brake?
Usually not. Hydraulic systems self-compensate for normal pad wear; excess travel or drag requires inspection for wear, air, leaks, piston problems, fluid level, and alignment.
Can I spray chain lubricant on a noisy brake?
No. Oil or lubricant on pads, shoes, discs, or drums can reduce braking. Use only brake-approved cleaner and replace contaminated friction material when the manual requires it.
Why does the brake drag after adjustment?
Possible causes include insufficient cable free play, poor cable routing, a seized pivot or piston, wheel misalignment, a warped disc, or incorrect assembly. Recheck the complete system rather than loosening a safety-critical fastener.
Evidence and Sources
- The MSF T-CLOCS checklist includes brake controls, hoses, cables, pads, discs, and fluid in the pre-ride inspection.
- Use the Honda Powersports owner-manual library for exact-model inspection and adjustment procedures on supported Honda models.
Brake type, free play, wear limits, fluid, bleeding order, and torque values are model-specific. The exact manual controls.