Pit Bike Has No Spark: Electrical Diagnosis Guide
The short answer: Confirm the engine is actually producing no spark with an approved spark tester, then check the plug, cap, engine ground, kill circuit, connectors, coil, pickup, and stator in that order. Use the exact wiring diagram and resistance or output limits for the bike. Do not hold a plug by hand or test near spilled fuel.
This guide applies to common gasoline pit bikes. An electric pit bike has no spark-ignition system and needs a different diagnostic path.
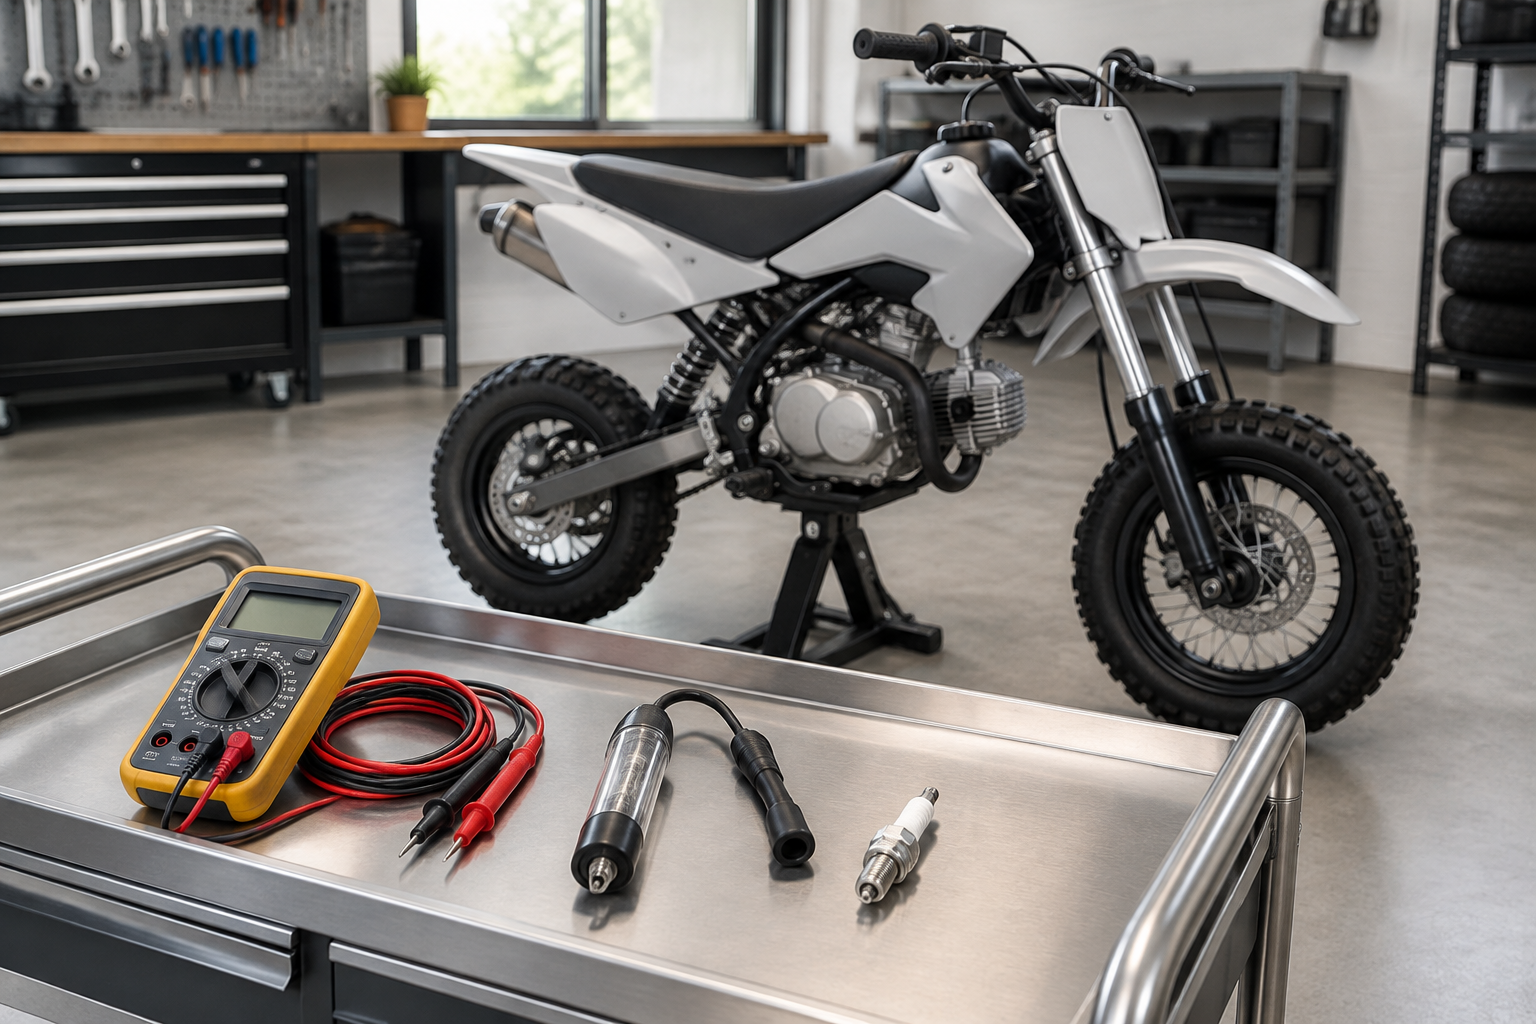
What You Need
- Exact wiring diagram and service manual
- Approved inline or enclosed spark tester
- Correct replacement spark plug for comparison, if available
- Digital multimeter and test leads rated for the procedure
- Basic hand tools
- Contact cleaner approved for electrical connectors
- Eye protection
Work with the fuel valve off where the manual permits, clean spilled fuel first, and keep ignition testing away from the plug hole and fuel vapors.
Diagnostic Order
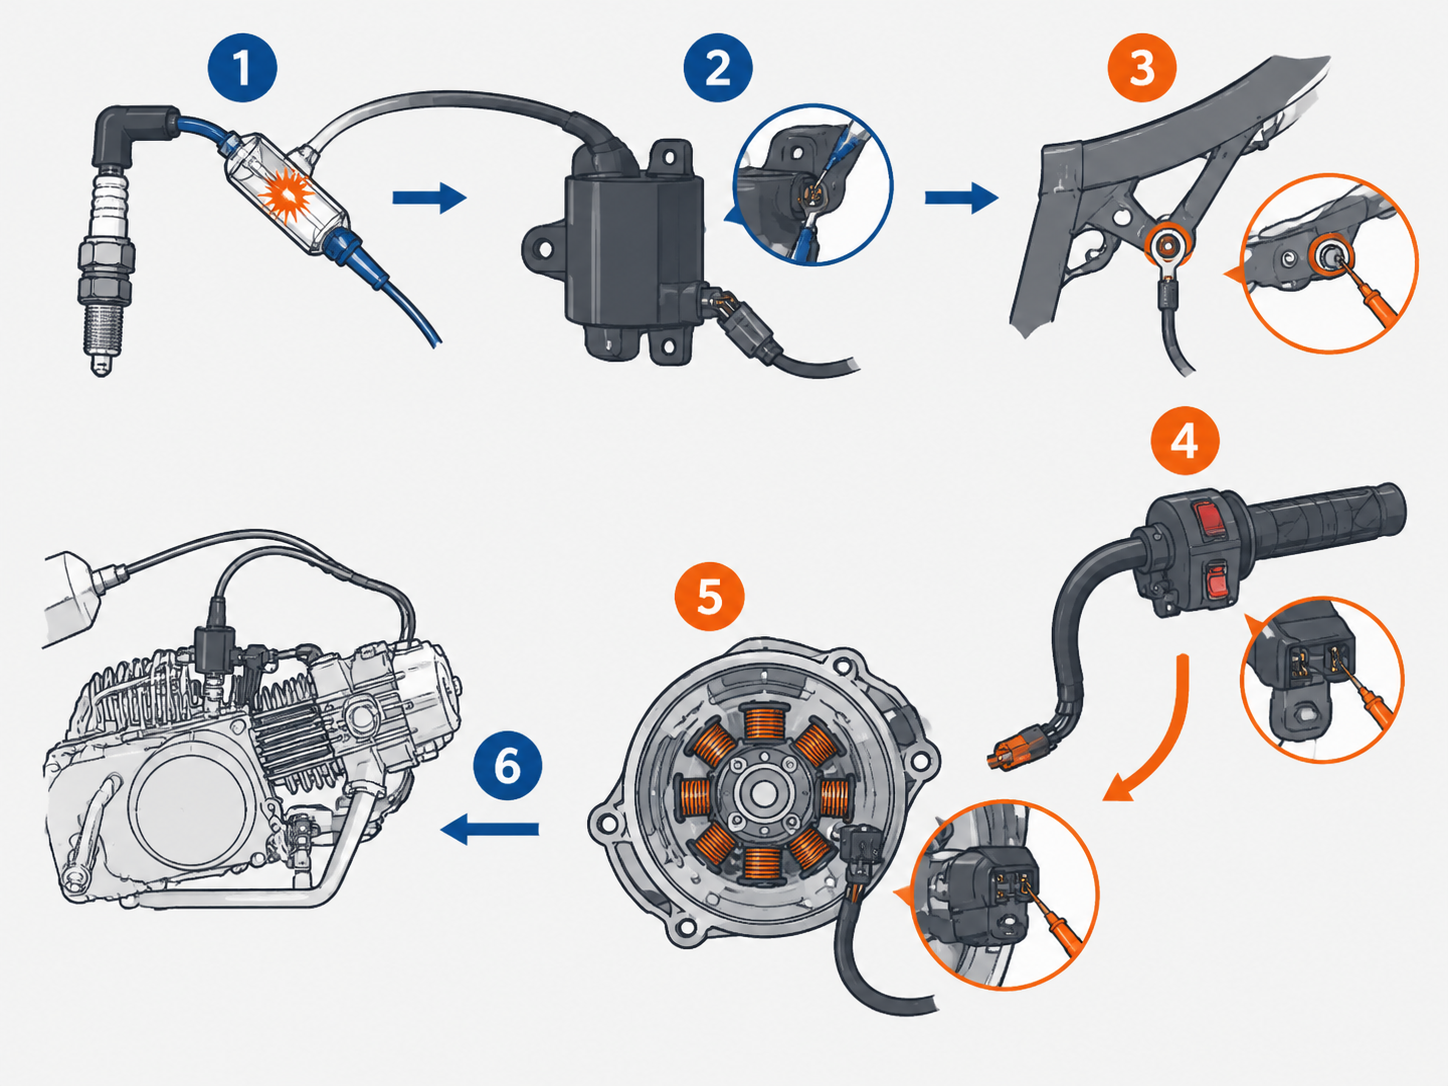
1. Confirm the Symptom
Check whether the engine cranks or turns normally. A seized engine, failed starter, weak cranking battery, incorrect valve timing, or no compression is not the same as a no-spark fault.
Install the approved spark tester as directed and crank the engine. If the test method is unclear, stop and use the service manual or a technician.
2. Check the Spark Plug
Confirm the plug part number and gap match the manual. Inspect for a cracked insulator, damaged electrode, heavy fouling, wet fuel, carbon tracking, and damaged threads.
A new plug is a useful comparison only when it is the correct type. Do not assume a plug fixes the underlying cause if it fouls again.
3. Inspect the Cap and Lead
Check that the cap locks onto the plug and that the lead is not cut, burnt, oil-soaked, or pulled from the cap or coil. Measure cap resistance only when the manual provides a value and procedure.
Replace damaged parts rather than taping over a high-voltage fault. Keep the lead away from hot exhaust and sharp frame edges.
4. Check Grounds and Connectors
Inspect the engine-to-frame ground, coil mount, battery ground where fitted, and visible harness grounds. Remove corrosion and tighten only to the specified procedure.
Disconnect connectors with the power isolated. Look for water, bent pins, pushed-back terminals, broken locks, chafed insulation, and repairs that do not match the wiring diagram.
5. Isolate the Kill Circuit
A failed kill switch, key switch, tether, or pinched stop wire can ground the ignition continuously. Test the circuit only as the manual directs; do not permanently bypass a safety switch.
If spark returns when the manual's isolation test is performed, repair the switch or wiring before riding. Restore all safety functions after diagnosis.
6. Test the Ignition Coil
Inspect coil mounting, terminals, lead, and ground. Measure primary and secondary resistance only with the specified meter setup and limits, because designs and cap resistance vary.
A resistance reading within range does not prove the coil works under heat and load. Confirm the rest of the circuit before replacing it.
7. Test the Pickup and Stator
The pickup provides timing information and the stator or exciter winding supplies the ignition system on many small engines. Test at the named connector, cranking condition, meter mode, and limits in the service manual.
Check wire routing near the flywheel and engine case. A damaged pickup, incorrect air gap, broken winding, loose flywheel, or sheared key requires model-specific repair.
8. Check the Ignition Module and Timing
Treat the CDI or ignition module as a later suspect after plugs, grounds, stop circuit, coil, pickup, stator, connectors, and wiring have been checked. Many modules cannot be confirmed with a simple resistance test.
Use a known-good correct part only when the manual permits substitution. Connector shape alone does not establish ignition-module compatibility.
Symptom Clues
| Symptom | Inspect first |
|---|---|
| No spark after washing | Wet cap, connectors, kill switch, grounds |
| Spark cold, none hot | Coil, pickup, stator, connector or module heat fault |
| Intermittent spark when bars move | Harness near steering head, switch wiring, connectors |
| Spark disappeared after engine work | Grounds, connector routing, pickup, flywheel timing |
| Weak or inconsistent tester spark | Cranking speed, battery where relevant, plug, cap, coil, grounds |
These clues narrow the order; they do not identify a failed part by themselves.
When to See a Mechanic
Seek qualified help when the wiring diagram is unavailable, fuel is leaking, the harness is melted, the stator or pickup requires flywheel removal, ignition timing may be wrong, or high-voltage testing is outside your experience.
Do not ride with the kill switch bypassed or damaged wiring left exposed. Complete the pit bike safety checklist after repair.
FAQ
Can I test spark by holding the plug against the engine?
Use an approved tester and the manual's procedure instead. Open spark near fuel vapors and holding ignition parts by hand create avoidable hazards.
Can a bad kill switch cause no spark?
Yes. A grounded or pinched stop circuit can disable ignition, but test it using the exact wiring diagram and restore the safety switch after diagnosis.
Should I replace the CDI first?
No. Check the plug, cap, grounds, stop circuit, connectors, coil, pickup, stator, and wiring before treating the module as the cause.
Can low compression look like no spark?
Low compression can cause a no-start condition, but it does not remove spark. Confirm spark and mechanical condition as separate diagnostic branches.
Evidence and Sources
- Use the Honda Powersports owner-manual library for exact-model ignition and troubleshooting procedures on supported Honda models.
- The Yamaha TT-R110E owner manual is an official example of model-specific plug, ignition, switch, and troubleshooting guidance.
Resistance limits, output tests, wire colors, connector pins, pickup gaps, and ignition timing are model-specific.