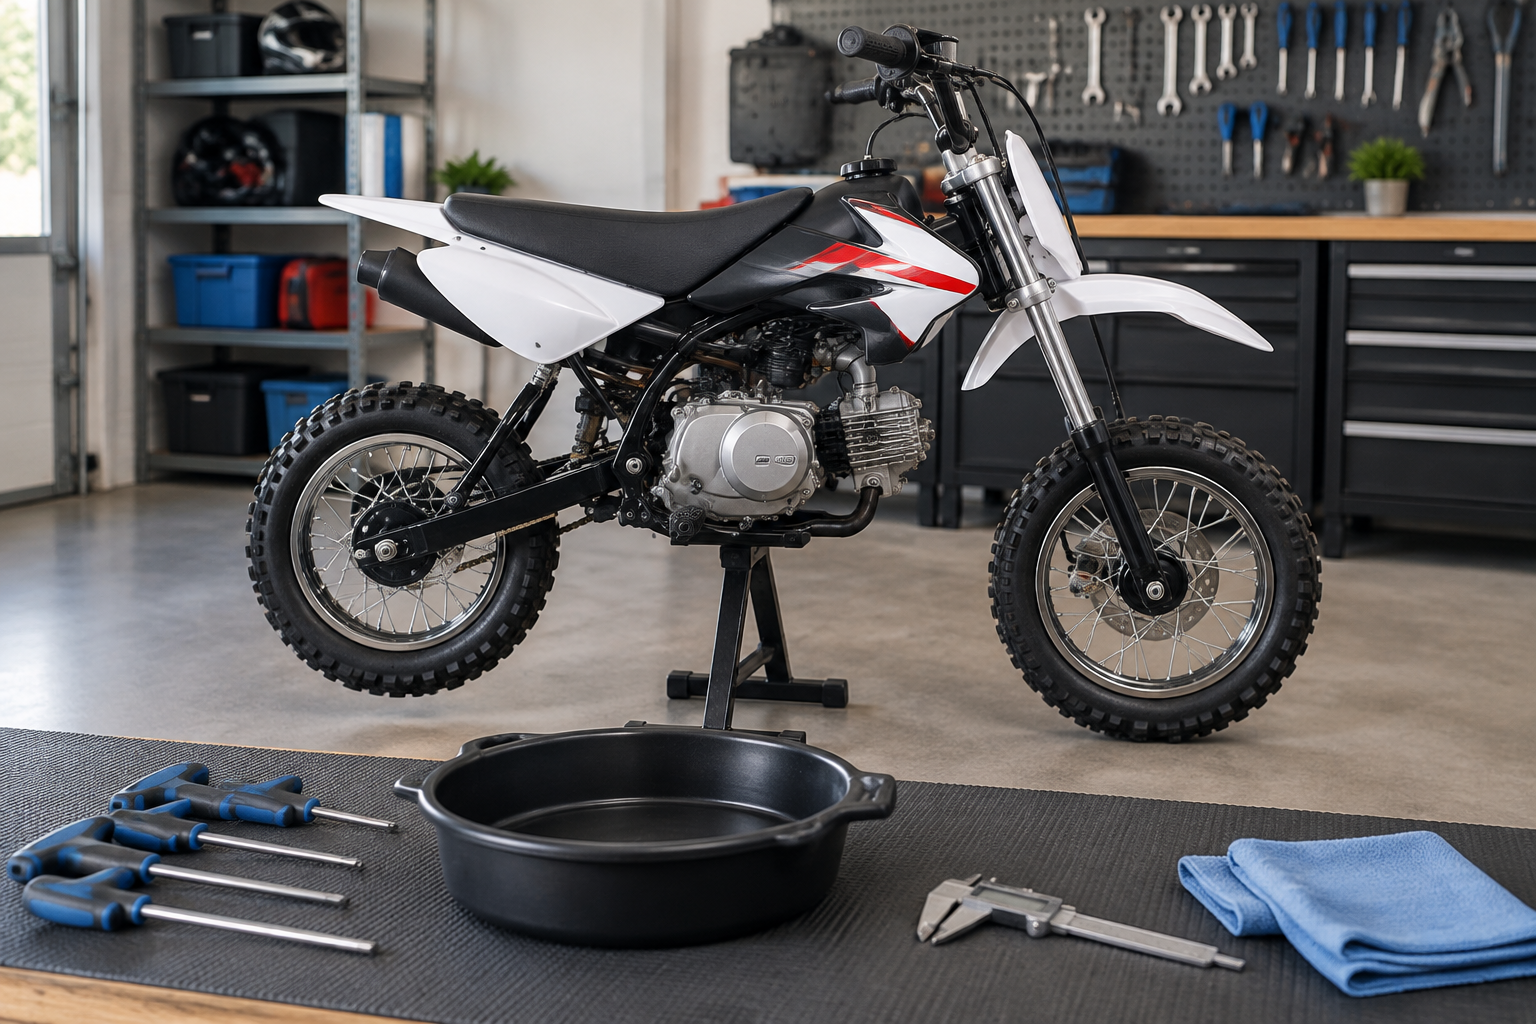
Pit Bike Clutch Problems: Diagnosis and Repair
Clutch problems on 110cc-125cc four-stroke pit bikes usually come from incorrect cable adjustment, contaminated oil, worn friction plates, warped steel plates, or a damaged clutch basket. The symptoms can overlap, so check the external adjustments before removing the clutch cover.
What you need
Tools:
- Metric socket and wrench set
- Screwdrivers and hex keys
- Clutch cable adjuster tools
- Drain pan
- Vernier caliper or micrometer
- Feeler gauges if checking plate clearance
- Clutch holding tool, if required by your engine
- Service manual for your exact model
- Clean rags and a parts tray
Parts and supplies:
- Correct motorcycle-rated oil
- Replacement clutch cover gasket
- Friction plates and steel plates, if worn
- Clutch springs, if weak or damaged
- New clutch cable, if the cable is kinked or seized
- Threadlocker only where your manual specifies it
Allow about 1-3 hours for an inspection and basic clutch service. A complete clutch replacement may take longer. Confirm the procedure and parts for your bike in its manual.
Step by step
1. Identify the symptom
Match the behavior to the likely fault:
- Clutch slips: Engine speed rises without matching acceleration, especially under load.
- Clutch drags: The bike creeps with the lever pulled in, or selecting first gear causes a strong lurch.
- Hard shifting or neutral problems: The clutch may not be fully releasing, or the shift mechanism may have a separate fault.
- Clutch lever feels unusually light: The cable may be loose, stretched, broken, or disconnected.
- Clutch lever feels rough or heavy: The cable may be dry, kinked, routed incorrectly, or damaged.
- Noise from the clutch area: Possible basket, bearing, gear, or primary-drive damage.
Do not assume that every shifting problem is caused by the clutch. Check the shift lever, linkage, oil condition, and internal transmission operation as well.
2. Check the lever and cable
Inspect the cable from the handlebar to the clutch actuator on the engine.
Look for:
- Kinks or crushed sections
- Frayed strands
- Sharp bends
- Loose cable housing
- A cable end that is not seated
- An actuator arm that does not move smoothly
Turn the handlebar fully left and right while operating the lever. The lever should not become tight or loose as the bars move. If it does, the cable routing may be incorrect.
Use the lever adjuster to set a small amount of free play. Common pit bike specifications are often around 2-5 mm of movement at the lever tip, but this varies. Check your exact measurement and adjustment method in your bike's manual.
If the cable is seized, damaged, or heavily frayed, replace it instead of relying on lubrication.
3. Inspect the clutch actuator
Follow the cable to the clutch actuator arm on the engine. Confirm that the cable end is seated correctly and that the arm returns when the lever is released.
If the arm is loose on its shaft, has excessive movement, or does not move through its normal range, inspect the shaft, return mechanism, and release bearing. The required actuator position varies by engine, so use the manual's adjustment procedure.
Do not compensate for an internal release problem by removing all lever free play. A clutch with no free play can slip and overheat.
4. Check the oil
Drain a small amount of oil into a clean container, or inspect the oil during a scheduled change.
Check for:
- Burnt smell
- Metal particles
- Excessive clutch material
- Water or milky contamination
- Oil that is much thinner than expected
Use oil approved for wet motorcycle clutches. Automotive oil containing friction modifiers can contribute to clutch slipping on some engines.
Oil capacity varies widely by engine and may differ between an oil change and a completely dry engine. Common small pit bike engines may take roughly 0.7-1.2 liters, but this is not a universal specification. Check your manual and fill according to its procedure. Do not rely only on the capacity printed on a generic parts listing.
5. Test for clutch slip
Warm the engine according to the manufacturer's procedure. On a clear, level area, select a higher gear at low speed and apply throttle gradually.
A slipping clutch may show:
- Engine rpm rising quickly
- Little increase in road speed
- A burning clutch smell
- Slipping that becomes worse as the engine warms
Avoid prolonged testing. Continued slipping can damage the friction plates, steel plates, springs, and clutch basket.
First correct the cable free play. If the clutch still slips, remove and inspect the clutch pack.
6. Test for clutch drag
With the engine warm, pull the clutch lever fully and select first gear.
A small movement can occur on some wet-clutch bikes, but excessive lurching, stalling, or creeping indicates that the clutch may not be releasing completely.
Check:
- Lever free play
- Cable travel
- Oil type and level
- Clutch actuator movement
- Plate condition
- Warped steel plates
- Friction plates sticking together
If the plates are removed, keep them in order so their installed position can be checked during reassembly.
7. Remove the clutch cover
Turn off the fuel supply where fitted and clean the area around the clutch cover. Drain the oil if the cover cannot be removed without spilling it.
Before removing fasteners:
- Note their positions and lengths
- Disconnect any cable or linkage attached to the cover
- Avoid prying against sealing surfaces
- Replace the gasket if the manual specifies a replacement
Use the tightening sequence and torque values in your manual during reassembly. Common small-engine cover and clutch fastener torque values can vary substantially, so there is no universal torque specification.
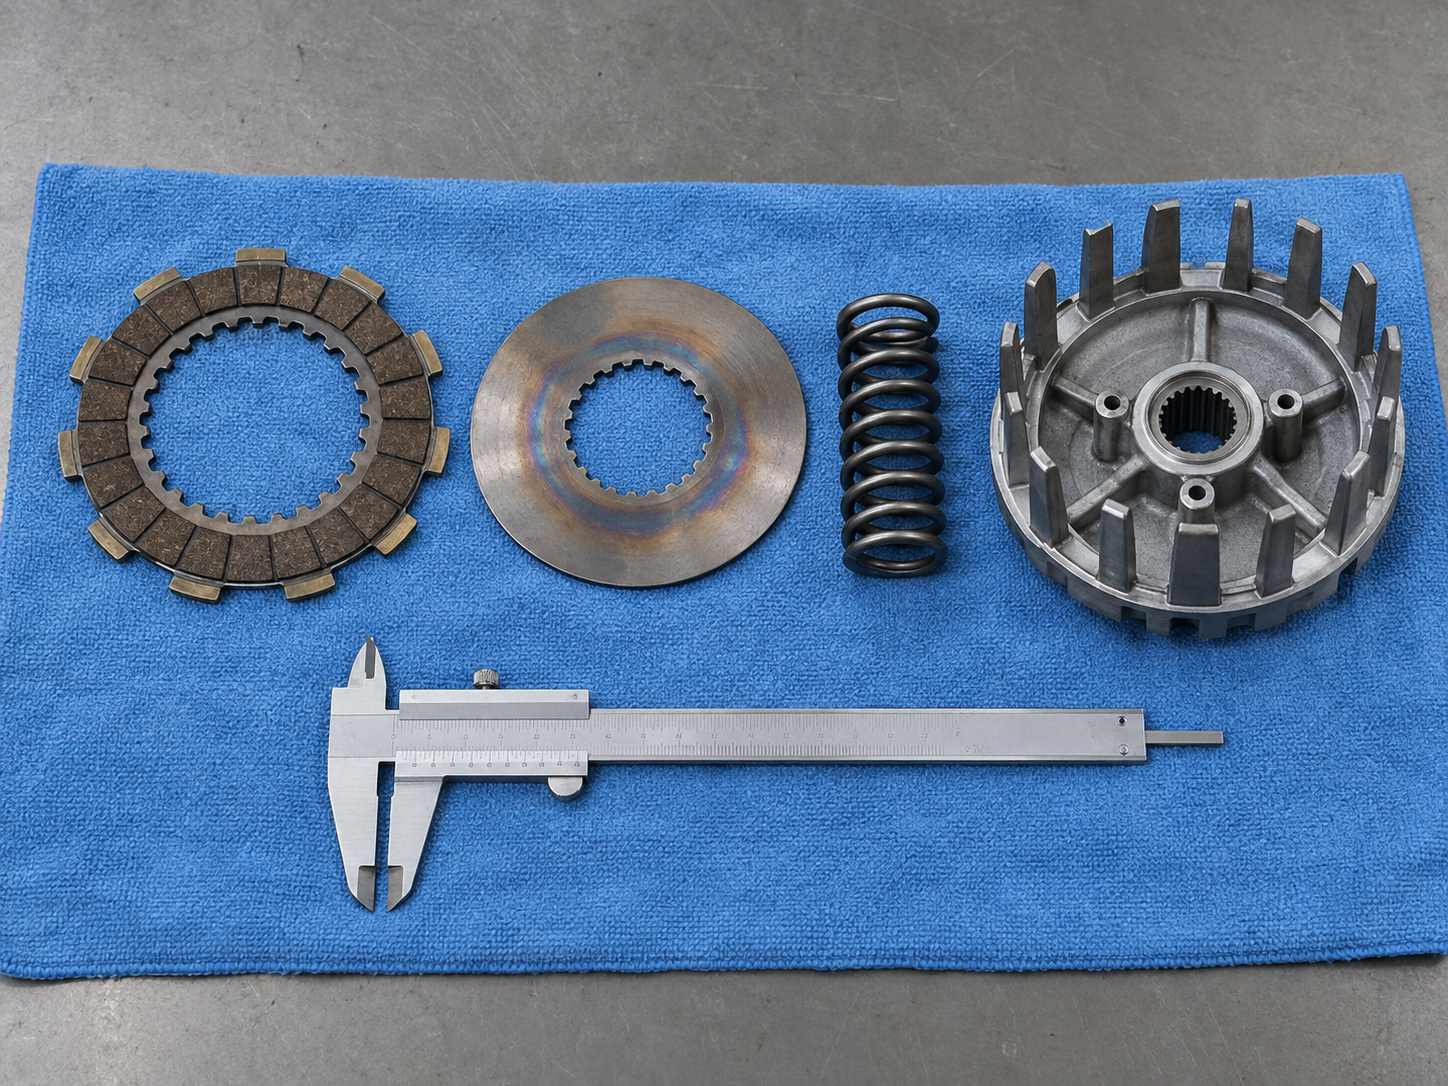
8. Inspect the clutch pack
Remove the pressure plate, springs, and clutch plates according to the manual.
Inspect the friction plates for:
- Burnt or glazed surfaces
- Missing friction material
- Cracks
- Oil contamination
- Uneven wear
Inspect the steel plates for:
- Blue or dark heat marks
- Warping
- Deep grooves
- Rust or corrosion
Measure plate thickness and spring length only against the limits in your manual. Common replacement limits differ between engines, and an aftermarket clutch kit may use different dimensions.
Replace plates as a complete matched set when possible. Mixing severely worn plates with new plates can leave the original problem unresolved.
9. Inspect the basket and hub
Run a fingernail across the clutch basket fingers. Deep notches where the friction plates engage can prevent the plates from separating smoothly. This commonly causes clutch drag and inconsistent engagement.
Inspect the inner hub for similar notching. Check the primary gear, needle bearing, thrust washers, and release mechanism for looseness or damage.
Minor marks may sometimes be corrected only when permitted by the component manufacturer. Do not remove enough material to change the plate fit. Replace a badly notched basket or hub.
10. Check the springs and reassemble
Compare the clutch springs with the service limits in your manual. Weak springs can cause slipping, while incorrect or excessively stiff springs can make the lever heavy.
Soak new friction plates in the correct engine oil if the plate manufacturer requires it. Install friction and steel plates in the specified order. Some engines use a different first or last plate, so follow the manual rather than copying another engine's arrangement.
Install the pressure plate and tighten its fasteners evenly in a crisscross pattern. Use the manual's torque specification. Refit the cover with the correct gasket and reconnect the cable.
11. Adjust and verify operation
Set the clutch lever free play within the range specified for your bike. A common range is 2-5 mm at the lever tip, but check your manual before riding.
Confirm that:
- The lever moves smoothly
- The actuator returns fully
- The clutch engages progressively
- The engine does not creep excessively with the lever pulled in
- The clutch does not slip under load
- There are no oil leaks
After the first short ride, inspect the cover and adjuster for leaks or looseness. Recheck the adjustment after the cable and plates have settled.
Safety
- Use the engine kill switch and remove the key before working near moving parts.
- Work with the engine cool unless a specific diagnostic step requires warming it.
- Wear gloves and eye protection when draining oil or removing springs.
- Keep loose clothing, hair, and tools away from the chain, flywheel, and rotating parts.
- Support the bike securely and keep it away from children and open flames.
- Dispose of used oil through an approved collection point.
- Test ride only in a controlled area away from traffic, pedestrians, and obstacles.
When to see a mechanic
Seek professional service when:
- The clutch still slips after correct adjustment and new oil.
- The clutch basket, hub, bearing, or primary gear is damaged.
- The engine makes grinding or knocking noises from the clutch side.
- The clutch cover or crankcase sealing surface is damaged.
- Fasteners are stripped or cannot be removed without force.
- The transmission jumps out of gear.
- The clutch actuator or shift mechanism has excessive play.
- You cannot confirm the correct plate order, torque values, or clearance limits for your engine.
A mechanic should also inspect the engine if the oil contains significant metal debris. That can indicate damage beyond the clutch pack.
Final diagnostic order
- Confirm the symptom and check the lever free play against the exact manual.
- Inspect cable routing, actuator movement, oil type, and oil level before opening the cover.
- Stop testing if the clutch slips severely, the engine makes grinding noise, or metal appears in the oil.
- Match plate thickness, spring length, and fastener settings to the service limits for the exact engine.
- Verify engagement, release, leaks, and safe control operation in a controlled area before normal riding.
FAQ
Why does my pit bike move forward when the clutch lever is pulled in?
The clutch may be dragging because the cable has too much slack, the release mechanism is not moving far enough, the plates are warped, or the oil is unsuitable. Check the free-play specification in your manual. A common lever free-play range is 2-5 mm, but it is not universal.
Why does the clutch slip after an oil change?
Incorrect oil, excessive oil level, cable adjustment with no free play, worn friction plates, or weak springs can cause slipping. Confirm that the oil is approved for wet motorcycle clutches and that the oil level and capacity match your manual. Common pit bike oil capacities are about 0.7-1.2 liters, but check your manual for the exact engine.
Should clutch plates be replaced one at a time?
Usually, friction plates and steel plates should be inspected as a set. Replace the complete matched set when wear, heat damage, or contamination is present. Follow the parts and replacement instructions in your manual or clutch kit documentation.
How often should a pit bike clutch be serviced?
There is no universal interval. Inspect the clutch when slipping, drag, hard shifting, or abnormal noise appears, and follow the maintenance schedule in your manual. Riding style, rider weight, gearing, oil condition, and terrain affect service life.
Can I use car oil in a pit bike?
Some automotive oils can cause wet-clutch slipping, especially if they contain friction modifiers. Use oil that meets the motorcycle and wet-clutch requirements stated in your manual.
Evidence and sources
- Honda Powersports owner's-manual library provides model-specific maintenance procedures for off-road motorcycles, including clutch, oil, and control information where applicable.
- Yamaha TT-R110 owner's manual is an official example of how a manufacturer separates adjustment, maintenance, and safety instructions for a youth off-road motorcycle.
These references support the diagnostic order used here, not a universal clutch setting. Generic free-play, oil-capacity, plate, spring, and torque ranges are not independently verified for your engine; the exact model manual controls.
More guides
- Find replacement cables, clutch plates, and service parts in the pit bike parts catalog.
- Compare engine layouts and equipment in the best pit bikes guide.
- Use the pit bike comparison guide before choosing a replacement machine.
- Learn about alternatives in the electric pit bike guide.
- Review setup considerations for pit bike racing.